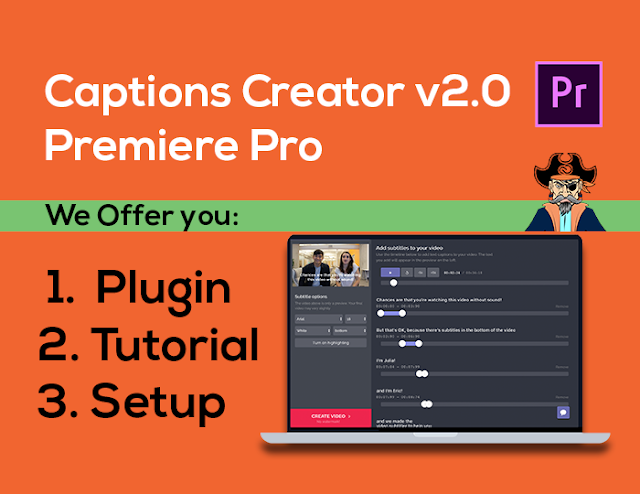
Captions and subtitles are important to increase the intelligibility of your videos. They can also use to appear translations from a different language, or help to clarify difficult to perceive speech. Whatever the reason, Premiere has you covered, making it pretty easy to add in yourself. Now we talk about how to create subtitles and captions in Adobe Premiere Pro CC.

Captions Creator v2.0 Social-Media-Video Caption Creator
Select whether you want Remove captions, CEA-608/CEA-708/Teletext or open captions.
Go to the program monitor and Click on the captions and drag it over to the sequence.
Move caption over to sequence to edit, open the captions panel. If it’s not open, go to Windows Captions.
Click on the Captions in the sequence. Go to where it says “type caption text here” and enter in the text.
Type in some text from the audio of the video.
You can adjust the font up next to Font.
You can increase the size from the Size number.
To remove the background, we will go up to the opacity droplet and reduce the droplet to 0. Make sure the background is selected in the three options to the left.
To add an edge, you will need to first go up to the top right and increase the Edge up.
You can then come back and click on the edge switch, and go to the color square to increase it.
You can align the caption with the X and Y markers above the text.
Now we can align the caption with the audio. To do this go to the timeline where the caption is placed. There will be a black bar with the text near the bottom of this layer. Drag the end to where the audio for that caption ends.
When your next audio starts, click the plus button and type in your next set caption, drag the caption line to where the audio stops.
Repeat by clicking the plus sign and adding additional captions to your audio.
There you have it. That is how you create captions and subtitles in Adobe Premiere Pro. Now you have all to do is render out your Image and you will be ready to go!


No comments:
Post a Comment